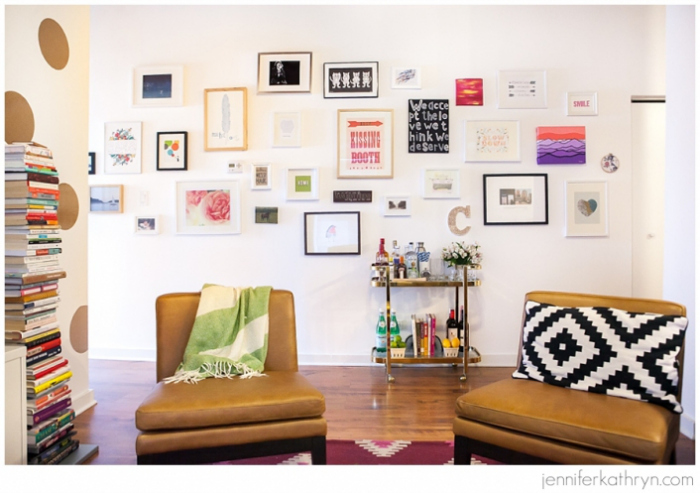
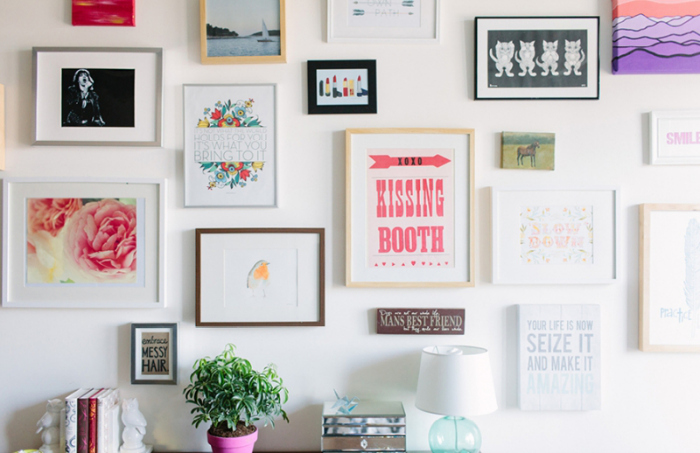
DIY // gallery wall.
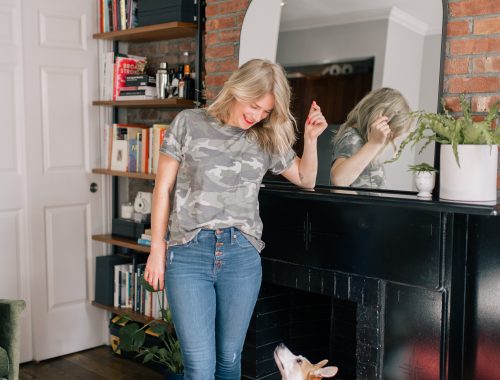
// photo by Jennifer Kathryn Photography
I’m a sucker for a good gallery wall. It may be the sap in me, knowing most of my art pieces remind me of a person, place or memory. Or maybe it’s just because I’m in that indecisive, figuring myself out stage of my twenties still and large scale art is a big commitment that I’m not quite ready for. Either way, over the past few years my art collection has grown and so have the size of the gallery walls I pull together in each apartment. It’s my go to way to make a statement and adds personality to any space with pretty minimal time, effort and cost.
// Photo by Stoffer Photography
Some tips for creating your own gallery wall:
- Choose a Variety of Art: Having a variety of art will add some balance to your gallery wall while still allowing for a diverse range of pieces. Combining things like typography, photography, watercolor and abstract will give you a nice mix of colors, textures and patterns when it comes time to plan your gallery wall and how everything will fit together.
- Collect Pieces Over Time: One of my favorite things about a gallery wall is that it’s able to grow over time – there’s something really fun about adding a new piece to your collection and a freeform layout will give you room to expand along the way. Etsy and Art.com are two of my go to resources, while also tapping into the talents of family & friends and picking up new pieces during travels.
- Mix Up Frames & Mat Sizes: Frame sizes, colors and mats can help mix things up and create diversity within your pieces (even if a lot of them are standard 8×10 or 5×7 sizes). IKEA is a great resource; their RIBBA frame comes in a ton of sizes and is very budget friendly. If you can’t find an exact frame fit, the custom framing department at Michael’s can cut a custom mat size for you to pop in an existing frame.
- Plan Your Layout First: Lay your pieces out on the ground before taking to the wall – get a feel for what pieces you’d like next to each other and a general sense of the layout you’d like to follow. Move things around and be sure to use the variety of your art to your advantage by breaking things up with different pieces, sizes and frame colors.
- Paper + Tape Are Your Best Friends: Trace each frame on paper (I usually use brown paper bags!) and write what the piece is and the frame color on each cut out. Using your floor layout as a guide, start in the center and tape each paper cut out to the wall to build the full layout and spacing on the wall.
- Hang & Level: Make sure you have the right hanging tools or nails for each piece! When you’re happy with your layout and ready to hang, nail through your paper guides (making sure you’re lined up with where the hook or wire is on the frame) – when the nail is in place, simply rip off the paper and hang each piece. After all of the pieces are in place, be sure to use a level to make sure everything is hung straight.
Do you have a gallery wall in your space? Are there any tips and tricks you learned when creating yours? Where’s your favorite place to buy new art?